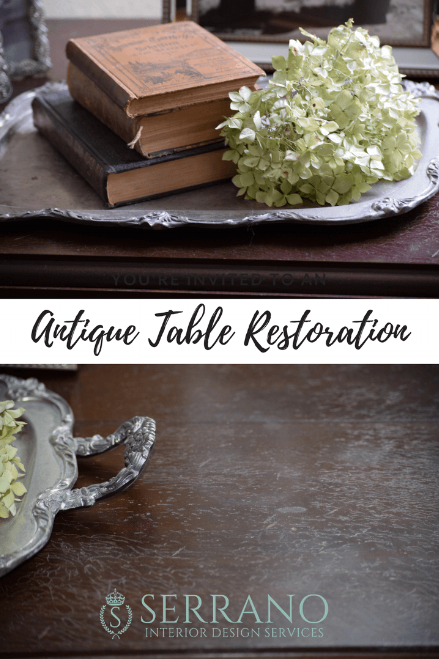
Antique Table Restoration!
/
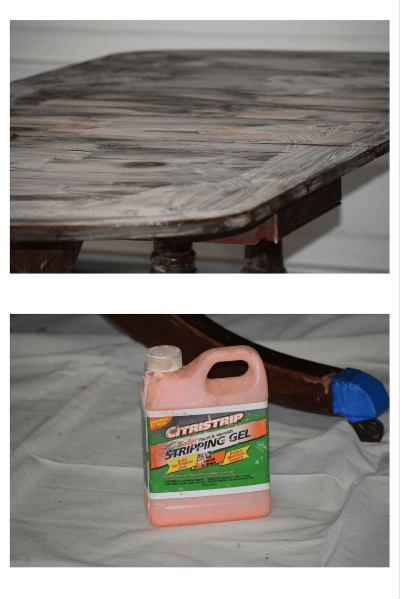
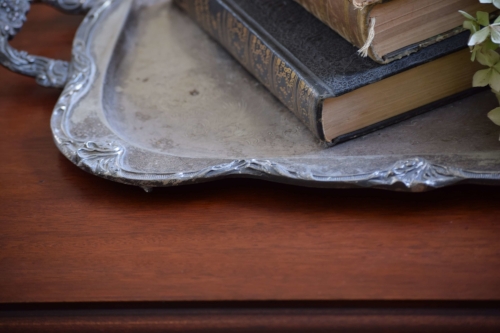
A couple of close-ups of some of the damage on the Federal extension table.
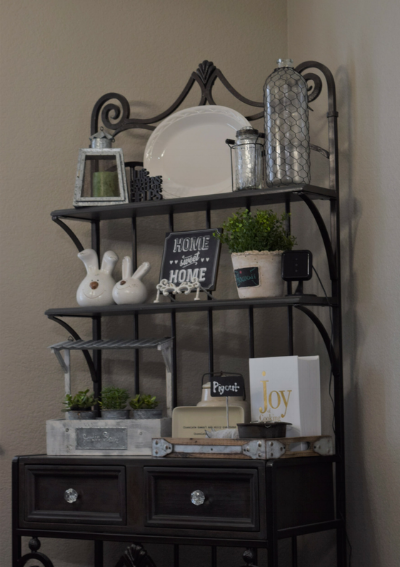
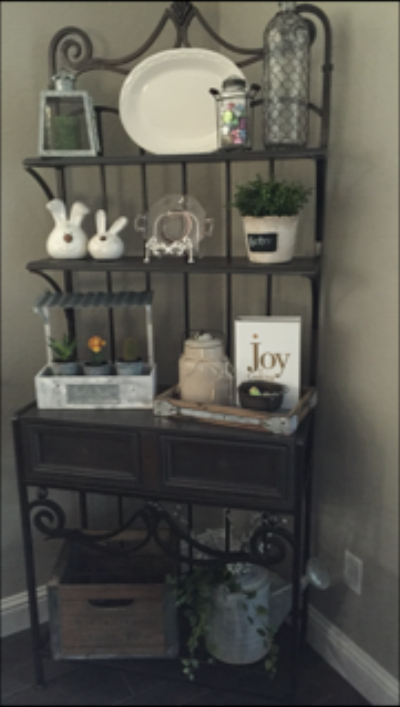
A few years ago, I purchased an antique Federal extension table from a Habitat for Humanity store for just a few hundred dollars. The table folds up and then folds out expanding as needed like an accordion. I really like the form and function of this table. It fits perfectly in my living room corner and functions nicely as a side table. During the holidays I regularly use it to accommodate extra guests during dinner. This table however had seen much neglect with many scratches and damage to its finish. Not only were there scratches, and white spots on the top of the table, but the table legs also had big scrapes and discoloration. One of my new year goals was to refinish this table. Here’s how I restored it.

A white spot on top of the table probably from something wet that was left on the table. Here you can see the table folded up with the ends dropped down, notice the scratches on the table legs.
Here is a picture of the gel applied to the top of the table. I also taped off the table feet covers to protect them.
First, I used some Citrus Strip (purchased from Lowes). I generously brushed on the citrus strip and let it sit for about 20 mins. With a plastic paint scraper, I scraped all the way across the top of the table to remove the existing top coat. Then using two full packages of super fine steel, I rubbed the whole table down from top to bottom removing the original stain and finish. I put the table leaves in the table and made sure to apply the same process to the table leaves. I also put the ends of the table down and applied stripping gel to creases of the table. When scrubbing these items, it is pretty easy to tell the difference between the stain and unstained sections. because the old stain is generally a darker color. It is important to make sure to completely remove all of the old finish.

Here's a pic of the table and legs covered with the citrus stripping gel.
After that step was complete, I used citrus strip wash to clean the table. This step cleans the wood and gets it ready for the new stain application. You want to make sure there is no orange residue left on the piece before applying your new stain. I used disposable brushes to apply both of these applications because it was easy for clean-up and disposal. I also wore some gloves to protect my skin while working.

A few photos of the first application of gel stain still damp in a few places. It is already looking a lot different.
Once the wash dried I checked the table for any spots of old stain that I might have missed and gently sanded those sections with a sanding block. Next, a rubbing with some cheese cloth to remove any dust particles. With the piece clean and ready I applied the new stain, I chose a Minwax gel stain in rustic mahogany. After the gel stain dried about 6 hours later, I checked to see if there were any areas that needed a second coat.

This is how the top of the table and legs are looking now that the new stain has been applied.
Since the finish looks good, I was ready to apply a top clear coat to seal the finish. I used a satin finish clear poly coat to seal and protect the wood from future wear. I liked this because it isn’t too shiny. Finally, I applied two coats per the directions. Once these were dry, I let it dry for a few days, I finished with a thin coat of paste wax for some extra water protection. Now I’m ready to enjoy my new table!

The after pic of the top of the table with the new finish.